Back to Main Navigation
Back to Main Navigation
Back to Main Navigation
Back to Main Navigation
Due to the complex nature of die-struck lapel pin...
Enamel pin designers, take note. Many of you are leaving an...
Electroplating is a complex process is used extensively in...
The Lapel Pin Manufacturing Process Explained Follow a pin...
There has never been more choices for the back of your pin....
Our step by step guide walks you through the process to...
It's more important than ever to stay connected to your...
Our enamel pin template offers tips and tricks for...
Whenever you buy pins or medals you'll have to select the...
The main difference between these two lapel pin types is...
The most sought after sport trading pin by any trader at...
One of the top searches that helps people find our site is...
The amount of text and detail on a pin usually decides the...
Patriotic Pins Help Boost Athlete's Morale Robbie Thompson...
In our business, TIMING is everything. Please review two...
After nearly 5 decades in the custom enamel pin business,...
A lot of enamel pin designers are leaving the most...
Take a moment to learn about our experience in creating and...
Custom sport medals usually showcase a lot of exposed...
The beautiful thing about custom medals is that you can...
How do you create medals that look and feel like the...
There are two ways to attach your ribbon to the medal. With...
Our company offers three different ways to attach your...
We feel the ribbon is almost as important as the medal....
Lanyards are one of the most versatile promotional products...
Custom printed lanyards offer you more versatility and...
When ordering custom printed lanyards, the lanyard is only...
Recent Order By The Flash TV Show In Vancouver Trade Shows...
When purchasing custom sport medals, there are a zillion...
The first you need to make when purchasing custom enamel...
Adding curved or three dimensional elements to your medal...
----October 25th, 2018, For Immediate Release--- Ultimate...
The word “quality” is very subjective. Using photos online...
Silk screen enamel pins help you overcome the most common...
This video is for artists who want to create enamel pins...
In this enamel pin tutorial screencast, we dive into the...
Our cheat sheet offers tips and tricks. Be sure to dig into...
Direct from the desk of our design team, this illustrator...
We haven't come up with a way to see the colours inside...
This is the video that started it all! Three years ago we...
To say that the enamel pin trend has had an impact on our...
It's more important than ever to stay connected to your...
It’s important to mark milestones in any organization....
Do you want unique looking enamel pins? One of the most...
Metal pins without paint offer a whole host of creative...
Color matching is one of the more challenging concepts that...
Another topic that baffles our customers is the imprinting...
Vector art is the preferred graphics file format in the...
The hottest trend in Enamel Pin design is definitely...
Follow a pin from concept to completion and view the 8 steps required to make enamel pins!
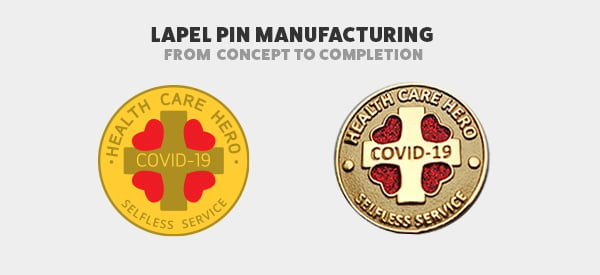
Once you learn the steps that your art goes through to become a pin, you’ll get a better sense of enamel pin design.
Pin design is VERY different from designing for print or web. We create a 3d piece of metal stamped with your art and then electroplate it and then hand paint it. After this article, you'll be better equipped to use the base metal in your designs and design nicer lapel pins.
Most enamel pins are made using the die-struck manufacturing process. This process requires a stamping mold so that your pin design is stamped into zinc metal. In most cases this process takes about 2-3 days to complete.
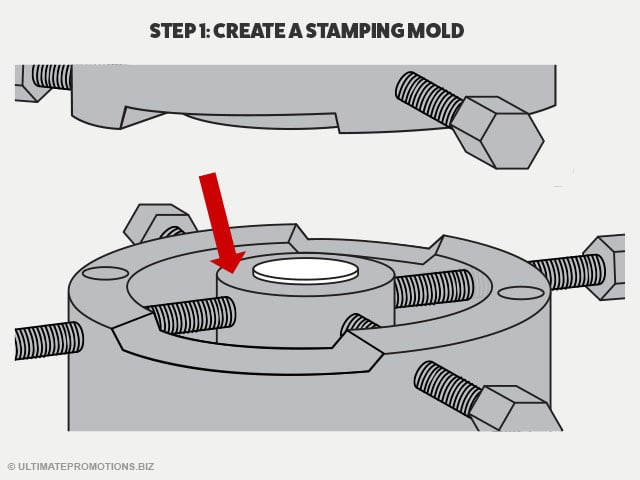
The mold itself is made from specialized industrial steel. We use CNC manufacturing technology that engraves your design backwards in the steel. This process is time consuming and most stamping molds require around 10 hours to make. When you pay a setup fee, this is what you are paying for. This is also the reason that 25-50pc pin orders are expensive to make. For a pin factory, it takes the same time to prepare for a 50pc order as it does 5000pc.
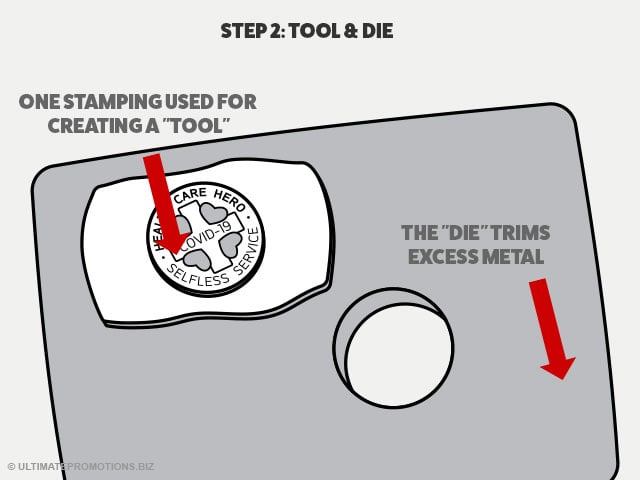
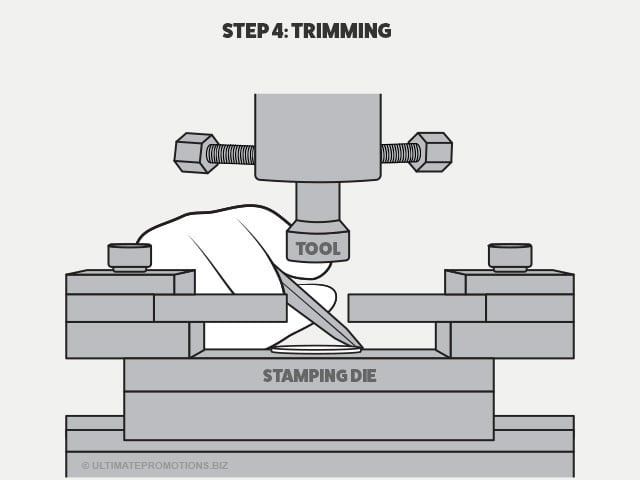
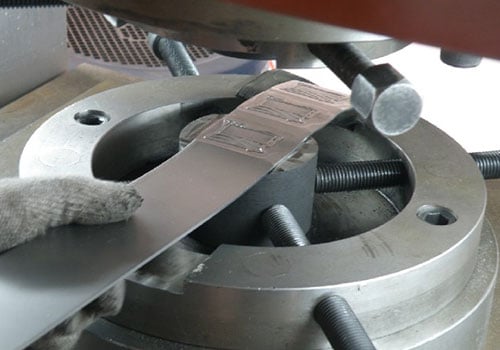
A “tool and die” is required so that your pins can be trimmed after stamping the design into a metal strip. The “tool” is the outline of your pin. And the “die” is used to remove the excess metal from the pin blank. This part of the process is time consuming and slow. Remember we have not even made a pin yet!
Now that the mold, tool and die are made we can begin manufacturing your pin. A machine operator adds your stamping mold to a hydraulic stamping press. The operator feeds a strip of zinc metal over top of the mold and applies approximately 5 tonnes of pressure to the metal so that the pin assumes the shape of your design.
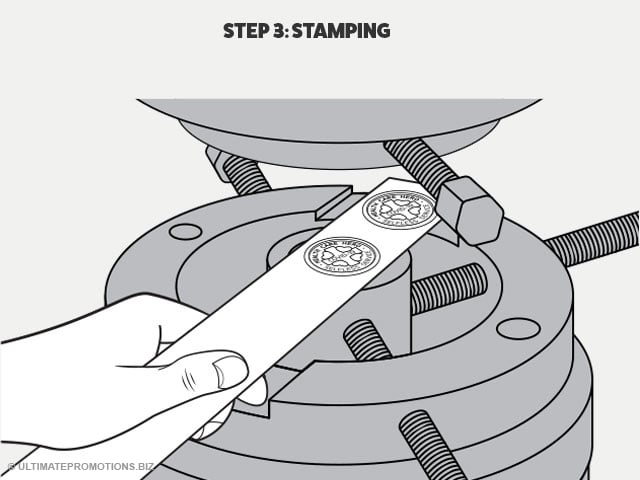
Once your pins are stamped into zinc strips, the project moves to the trim press. The excess “flange” that surrounds your pin is chopped off. Now we can start decorating your pin!
Electroplating is a very interesting process. This is that part of the process in which the metal becomes gold, silver, bronze. [Recently we have started offering dyed metal. Instead of electroplating, they actually spray paint the metal with the colour or your choice. ]
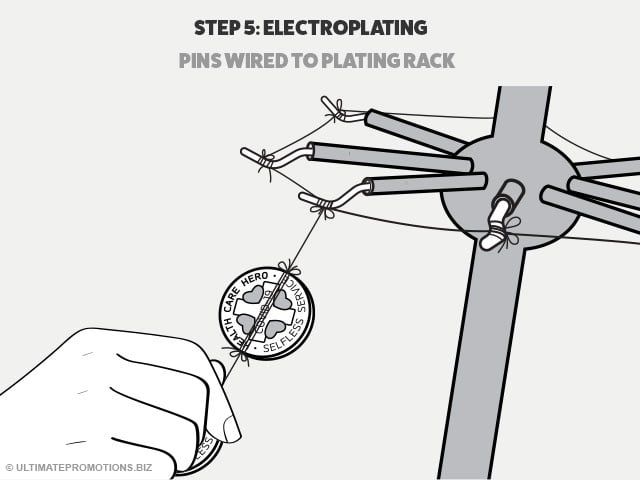
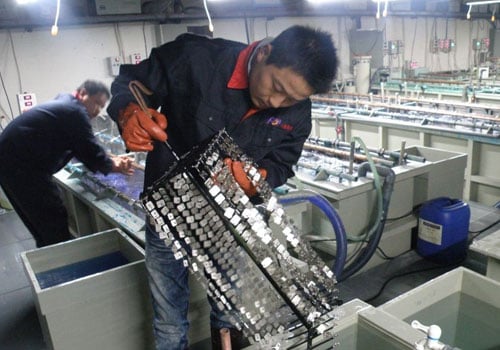
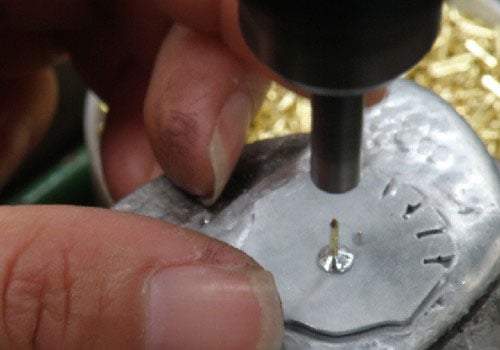
In order to transform the metal from the dull grey zinc colour to bronze, silver or gold, each pin is loaded on a metal rack. Wires are wrapped around each pin blank, one at a time.
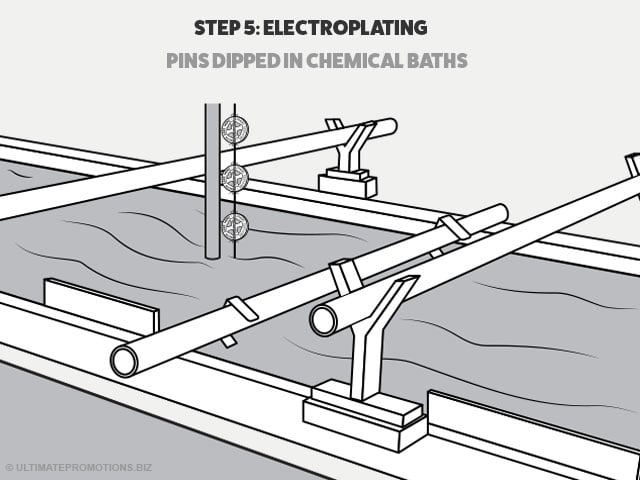
Once the rack is full of your pins, they are dipped in a series of chemical baths. The rack is charged with electricity and depending on which tank the pin is dipped in, the gold/nickel/bronze particles adhere to the pin, changing its colour.
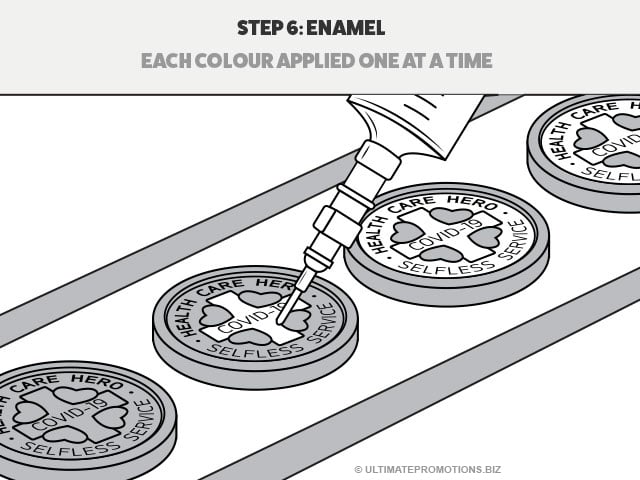
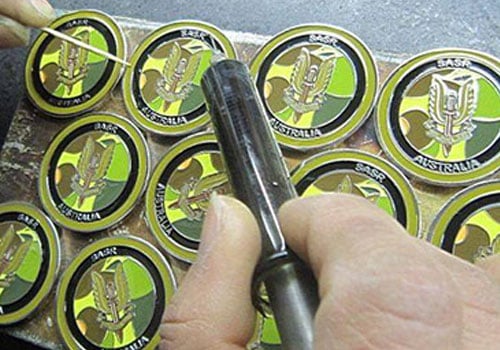
Once your pin is electroplated the right colour, the pins are loaded onto racks for enamel painting. The metal bases are heated up so that the enamel colour flows better. A technician uses a colour filled syringe full of liquid epoxy to inject colour into your pin. Each colour is inlaid one at a time.
Your pin design requires areas no smaller than 2mm to hold the liquid epoxy. Designers, this is often the reason we have to change your art! We need enough space to hold enamel within any given enclosed metal shape. (View our pin designer cheat sheet that offers you a list of specifications and best practices to follow)
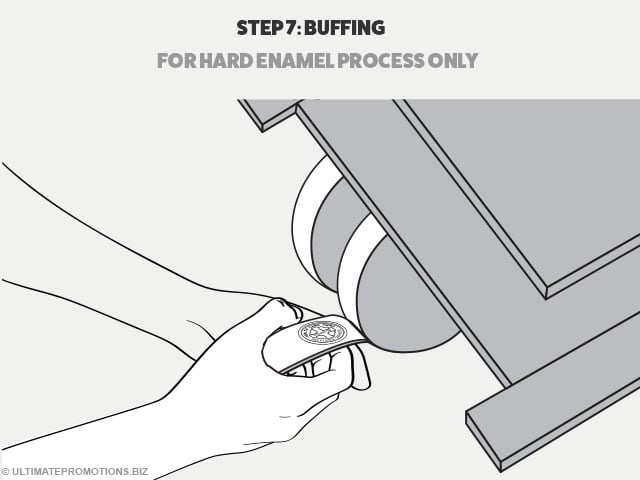
If you ordered hard enamel, there is an extra step. We fill the pins with more enamel in the hard enamel process. In order to give it that finished look, we need to buff the surface until the paint is level with the metal edges. This is one of the reasons hard enamel costs more because each pin, is buffed by hand.
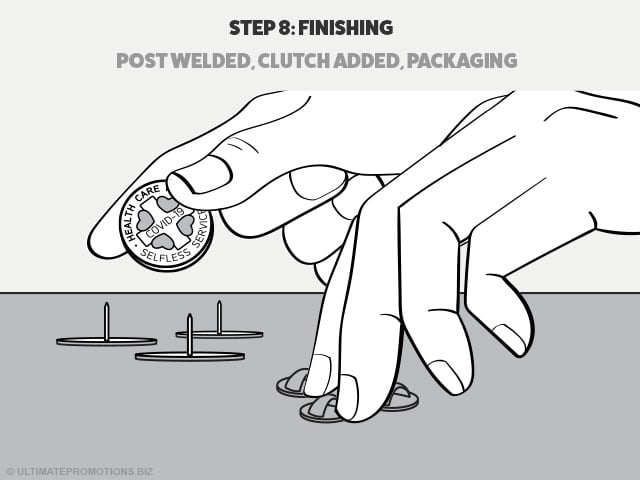
Once your pins are stamped, electroplated and painted they proceed to finishing. There are three parts to finishing:
Now we are ready to ship your pins!
Now you know how we make enamel pins! We hope that this deep dive into pin manufacturing was useful! Once you understand this process a bit better, you’ll gain insight into how to design better enamel pins. Be sure to read our other design articles about diy design, metal finishing and more.

![]() Craig Davidiuk has been in the promotional products his entire life. His family owned and operated a pin factory until 2002 and he eventually took over the company in 2012. He also has a diploma in Media Resources from Capilano University. Today his company is one of the leading suppliers of custom pins, medals and swag in Western Canada.
Craig Davidiuk has been in the promotional products his entire life. His family owned and operated a pin factory until 2002 and he eventually took over the company in 2012. He also has a diploma in Media Resources from Capilano University. Today his company is one of the leading suppliers of custom pins, medals and swag in Western Canada.
He is a father of one son with his wife, Courtney. Craig enjoys skiing, mountain biking, DJing, playing saxophone and world travel. The Davidiuk family resides in 100 Mile House, BC.
We like to provide great site with complete features what you want to impletement in your business!
Sw. Lazarza 19/9, 31-530 Poland
+48 690 473 500


Learn How To Buy Custom Pins

Buy Stock Medals, Trophies & Awards
Privacy Policy |  | Copyright ©2023
Marketing by Mastermynde